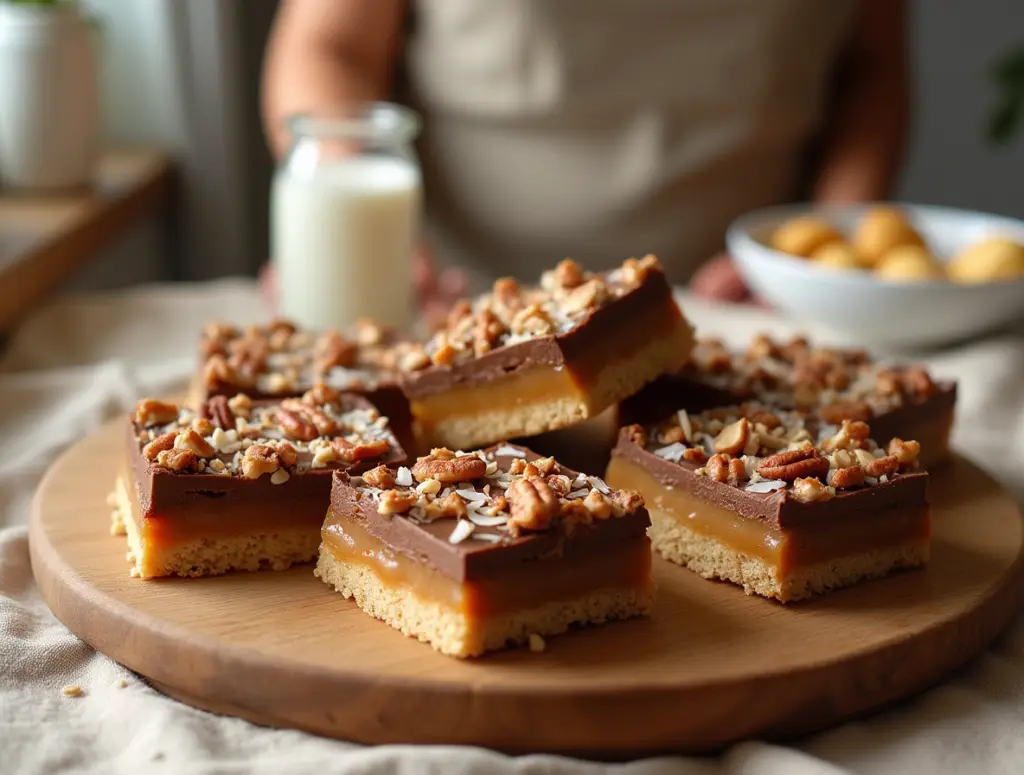
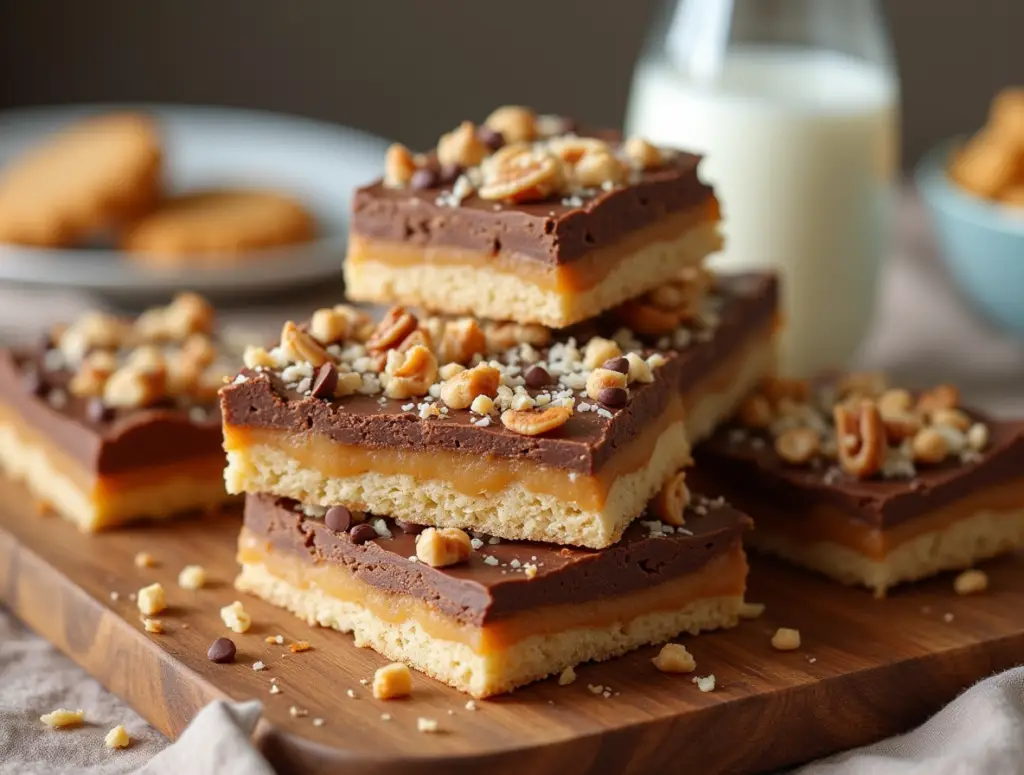
There’s something irresistible about seven-layer bars. These sweet, indulgent treats strike the perfect balance between chewy, crunchy, and gooey, offering a little something for everyone. Whether you’re enjoying them at a family gathering or whipping up a batch just because you’re craving a comforting dessert, these bars never fail to deliver.
Let’s explore what makes these bars so magical, dive into their rich history, and, of course, learn how you can create your own irresistible version right in your kitchen.
Table of Contents
What Are 7 Layer Bars?
Seven-layer bars, also called “magic bars,” are a quintessential dessert packed with layers of texture and flavor. They’re built on a base of graham cracker crumbs and butter, topped with an assortment of sweet and nutty ingredients that bake together into a cohesive treat.
The History of 7 Layer Bars
Seven-layer bars became popular in the mid-20th century when convenience baking was all the rage. Their simple, no-mixer-required preparation appealed to busy home bakers, and their rich flavor made them a staple at gatherings and bake sales. Over time, they earned the nickname “magic bars” because of the seemingly magical way the layers come together in the oven.
What Makes Them Special?
The charm of seven-layer bars lies in their versatility. While the classic recipe includes seven distinct layers graham cracker crust, melted butter, chocolate chips, butterscotch chips, coconut flakes, nuts, and condensed milk there’s plenty of room for customization. Whether you’re looking for a vegan twist or a gluten-free alternative, these bars can adapt to suit your taste and dietary needs.
7 Layer Bars: A Step-by-Step Guide
Making 7 layer bars is delightfully simple. You don’t need any fancy equipment, just a baking dish, some pantry staples, and a bit of creativity.
Ingredients You’ll Need
To make your own batch of seven-layer bars, gather the following ingredients:
| Ingredient | Quantity | Notes |
|---|---|---|
| Graham cracker crumbs | 1 1/2 cups | Use gluten-free crackers if needed |
| Unsalted butter | 1/2 cup | Melted |
| Semi-sweet chocolate chips | 1 cup | |
| Butterscotch chips | 1 cup | Substitute caramel chips if desired |
| Sweetened shredded coconut | 1 cup | |
| Chopped nuts (walnuts or pecans) | 1 cup | Substitute seeds for nut-free version |
| Sweetened condensed milk | 1 can (14 oz) |
Step-by-Step Instructions
1. Prepare the Crust
Start by preheating your oven to 350°F (175°C). Line a 9×13-inch baking dish with parchment paper to make removal easier.
In a mixing bowl, mix the graham cracker crumbs with the melted butter until the texture resembles wet sand. Press this firmly into the bottom of the prepared baking dish to form an even crust.
2. Add the Layers
Now comes the fun part! Begin layering the remaining ingredients in the following order:
- Evenly distribute the chocolate chips over the crust.
- Add a layer of butterscotch chips for a caramel-like sweetness.
- Spread the shredded coconut for a chewy texture.
- Scatter chopped nuts across the top for a bit of crunch.
Finally, evenly drizzle the sweetened condensed milk over the entire dish.. This ingredient acts as the glue, binding everything together during baking.
3. Bake
Put the dish in your preheated oven and bake for 25–30 minutes, or until the top turns golden brown and starts to bubble.
4. Cool and Slice
Let the bars cool completely in the pan before slicing them into squares or rectangles. This step is crucial if you try to cut them while they’re still warm, they may crumble.
Tips for Perfect 7 Layer Bars
Customizing Your Bars
- Flavor twists: Experiment with different chips like white chocolate, dark chocolate, or even mint chips.
- Dietary adjustments: Swap condensed milk for coconut condensed milk to make a dairy-free version or use gluten-free graham crackers for a celiac-friendly treat.
- Add some zest: Sprinkle a bit of orange or lemon zest over the top before baking for a citrusy kick.


Storage Suggestions
- Room temperature: Keep your bars in an airtight container for up to a week.
- Freezing: Wrap individual bars in parchment paper and store them in a freezer-safe bag.
Why You’ll Love 7 Layer Bars
Seven-layer bars aren’t just delicious they’re also incredibly versatile and easy to make. They’re perfect for every occasion, from holiday parties to simple weekday treats. Because they don’t require any special tools or advanced baking skills, they’re an excellent choice for beginners and seasoned bakers alike.
FAQs About Seven Layer Bars
What Makes Them “Magic Bars”?
The nickname “magic bars” comes from the way the layers combine in the oven. Even though the ingredients are simply layered, not mixed, they come together seamlessly during baking, creating a cohesive and flavorful treat.
Can I Make Seven Layer Bars Vegan?
Absolutely! Use plant-based butter, vegan chocolate and butterscotch chips, and coconut condensed milk to create a vegan-friendly version of these bars.
How Can I Make Gluten-Free Seven Layer Bars?
The easiest way is to replace the graham crackers with a gluten-free alternative. Many brands offer gluten-free graham crackers that taste just as good as the original.
Can I Add a Personal Touch to This Recipe?
Of course! These bars are incredibly customizable. Add dried fruit, swap out the nuts for seeds, or try a drizzle of caramel sauce on top for extra indulgence.
Conclusion
7 layer bars are a classic dessert that has stood the test of time for a good reason. Their layered structure, ease of preparation, and delightful flavor make them a go-to treat for any occasion. By following this guide, you’ll not only master the art of making them but also discover how to adapt them to suit your preferences and dietary needs.
So, what are you waiting for? Gather your ingredients, roll up your sleeves, and bring a little magic to your kitchen. Once you’ve tasted these bars, you’ll see why they’ve earned their spot in dessert history.
Let us know in the comments: What’s your favorite way to customize seven-layer bars? We’d love to hear your ideas!
What Do You Think About Our Recipe
There are no reviews yet. Be the first one to write one.


1 thought on “What are 7 Layer Bars and How to Make Them?”